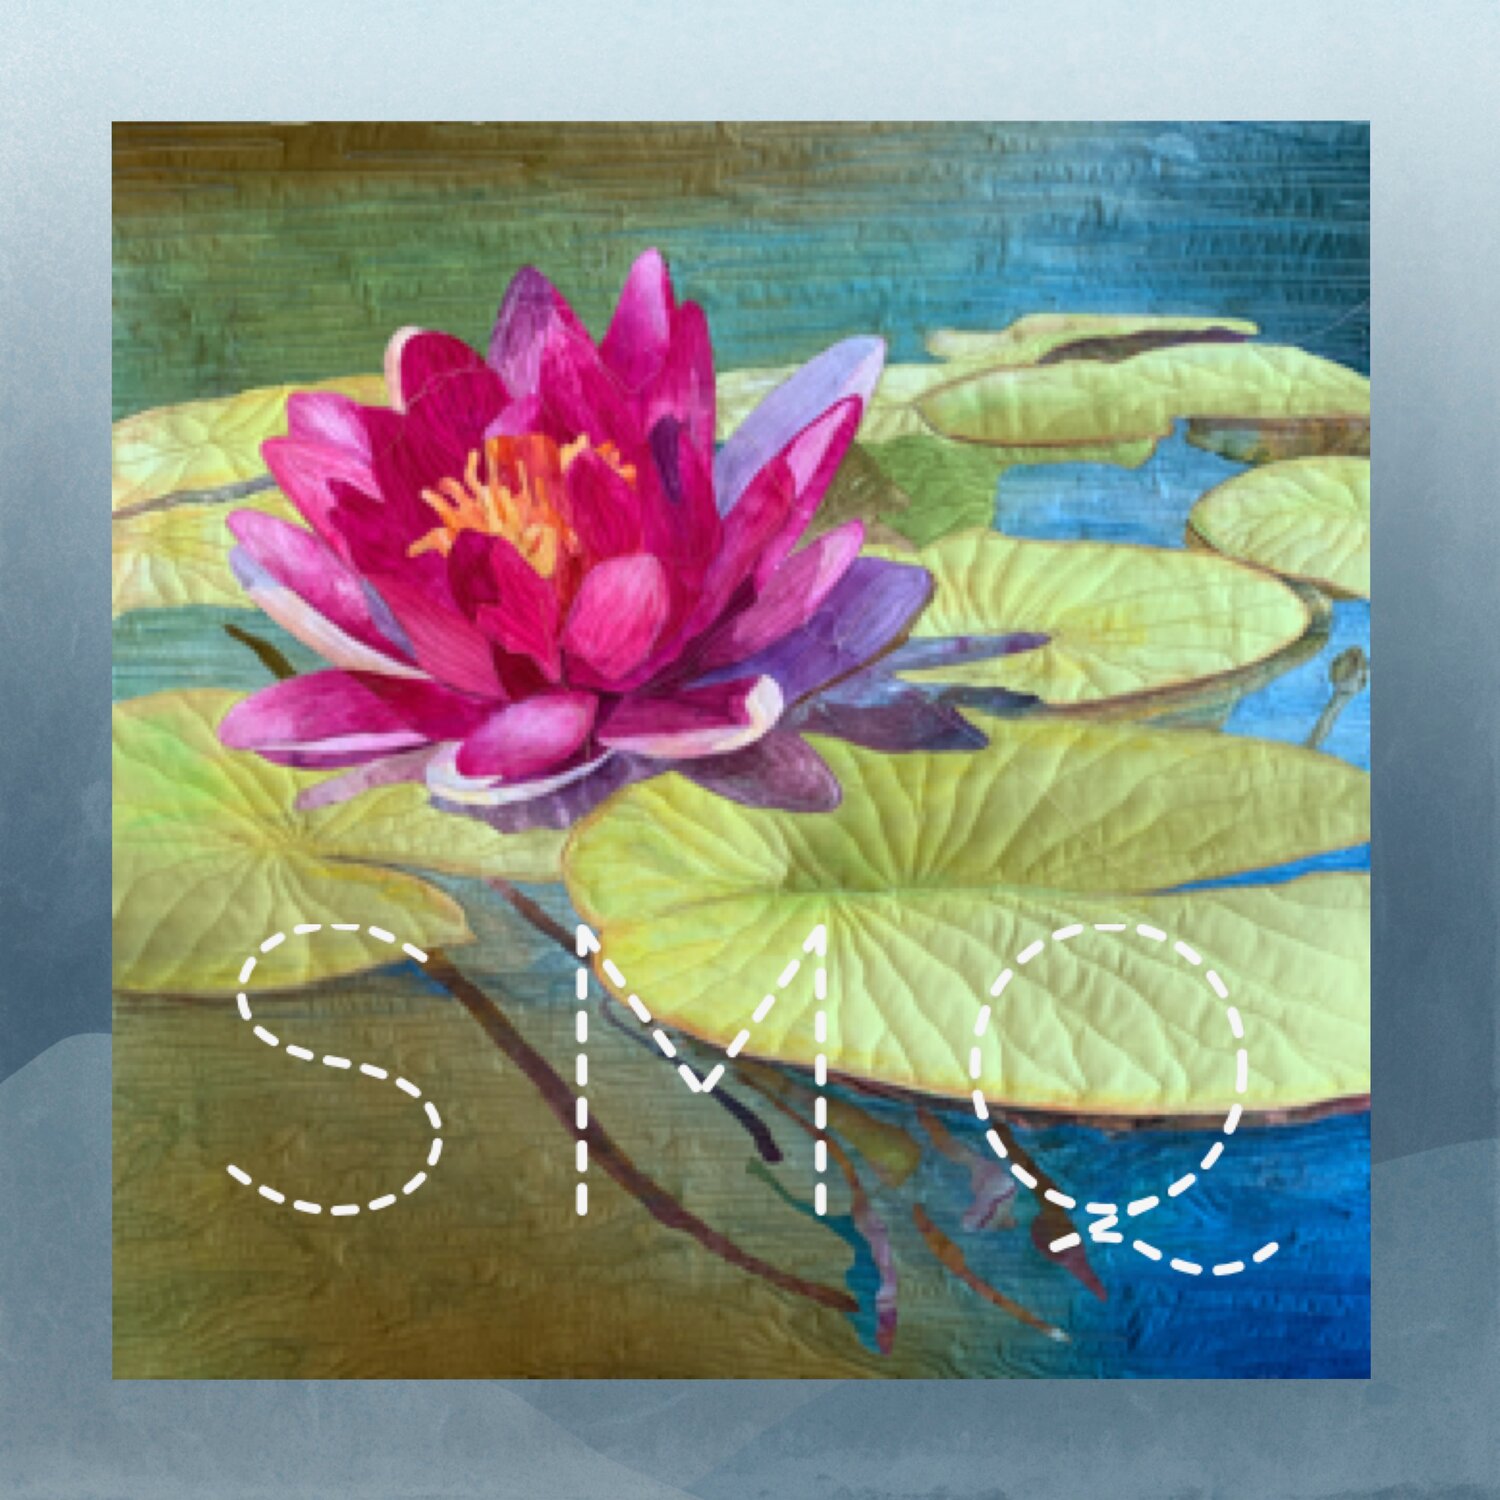
When I posted pictures of my recent work on Facebook, I was surprised to see the number of people who assumed I posted a picture that was the actual photo that inspired my quilt, and not a picture of the quilt top itself. It was simply so photo realistic, that many people were surprised when I told them, no, that IS the quilt top.
I didn’t start out to do photorealism in fabric. In fact, I rather surprised myself. I have been focusing my work recently on the study of how light is reflected off of glass or water. This has been an area of interest to me since I was a young woman. I would marvel at the work of artists and painters who could so wonderfully represent and convey the reflection of objects and people in mirrors, or who could show the distortion of light though a glass. To achieve this in fabric is my goal.
My process is similar to many people who are currently working in raw edge art quilts based on photographs.
The first step is choosing a photo. Since I don’t consider myself a great photographer, I have used photographs from other people as the starting point. I always get permission—in writing—prior to beginning the piece. Without the consent of the photographer, I could not share my work or enter it in shows and competitions. The work then, is listed as derived from a photograph by (___________).
In the quilt show here, that artist is a man who is local to me, and does serious photography in the area, John Slot. Next, I get an enlargement done. I have done this on sites like blockbuster.com, and printed it out myself on 8" x 11” plain paper, and then taped those sheets together to get my picture. It’s fairly low cost, but not free, exactly, when one considers the cost of ink.
My favorite source was actually Vistaprint.com. They are fast, the site easy to use, and reasonably priced. Print the photo in the size you actually want the finished quilt to be, minus any borders you wish to add.
NOTE: I am not printing the photo itself on fabric. There are companies who do this service, like Spoonflower.com. I would use them for other types of quilts, but not this.
Technically, the process goes like this: I trace every line I see onto a piece, or pieces of freezer paper. I use a light box for this, and draw on the paper side of the freezer paper. Buy Reynold’s Freezer Paper! Keep them in business!
The sections are cut out, ironed onto a piece of fabric, right side up, and a fusible adhesive in ironed to the back ( I prefer Misty fuse). The piece of fabric is cut out, ironed in place on a backing fabric, and the next piece, usually adjacent, is added next. Keep doing this until you finish.
It can be a slow process.
But the real magic is choosing the fabric which represents the section you are working on. I am fortunate to have years of experience in the dye room. I was able to hand dye large pieces of blue, as you see here, in ways that resulted in both smooth finishes without air bubbles, or pieces that represented textured water, or the sky with its light wisps of clouds.
I plan to write more about the dye process! Stay tuned.

Baker Beach, a work in process. Derived from a photo by John Slot, and used with his permission.